Set up your ClevaCloud email account using the Outlook Wizard in Outlook 2010 & 2013
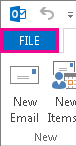
- Open Outlook 2013 or Outlook 2010. When the Outlook Startup Wizard opens, select Next. On the E-mail Accounts page, select Next.If the Wizard didn’t open or you want to add an additional email account, on the Outlook toolbar select the File tab.
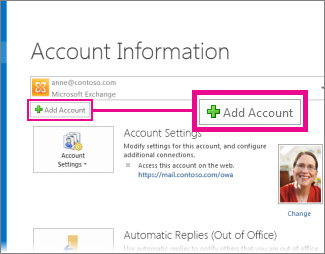
- Select Add Account.
- On the Auto Account Setup page, enter your name, e-mail address, and password, and then select Next.
- You may see a message box requiring you to allow permission, please choose the allow option.
- Select Finish.
Set up Outlook for Mac 2011
- Open Outlook for Mac 2011. On the Tools menu, click Accounts. If this is the first account you’re creating in Outlook 2011, under Add an Account, click Exchange Account.
If you’ve previously created an email account for a different email address, in the lower corner of the Accounts dialog box, click  , and then click Exchange.
- On the Enter your Exchange account information page, type your email address.
- Under Authentication, make sure User Name and Password is selected.
- In the User name box, type your complete email address. In the Password box, type your password.
- Make sure Configure automatically is selected, and then click Add Account.
- After you click Add Account, Outlook will perform an online search to find your email server settings. In the dialog box that asks if you want to allow the server to configure your settings, select the Always use my response for this server check box, and then click Allow.
- If Outlook is able to set up your account, you’ll see the account you set up in the Accounts dialog box. Close the Accounts dialog box. If Outlook isn’t able to set up your account, see the next section in this article.